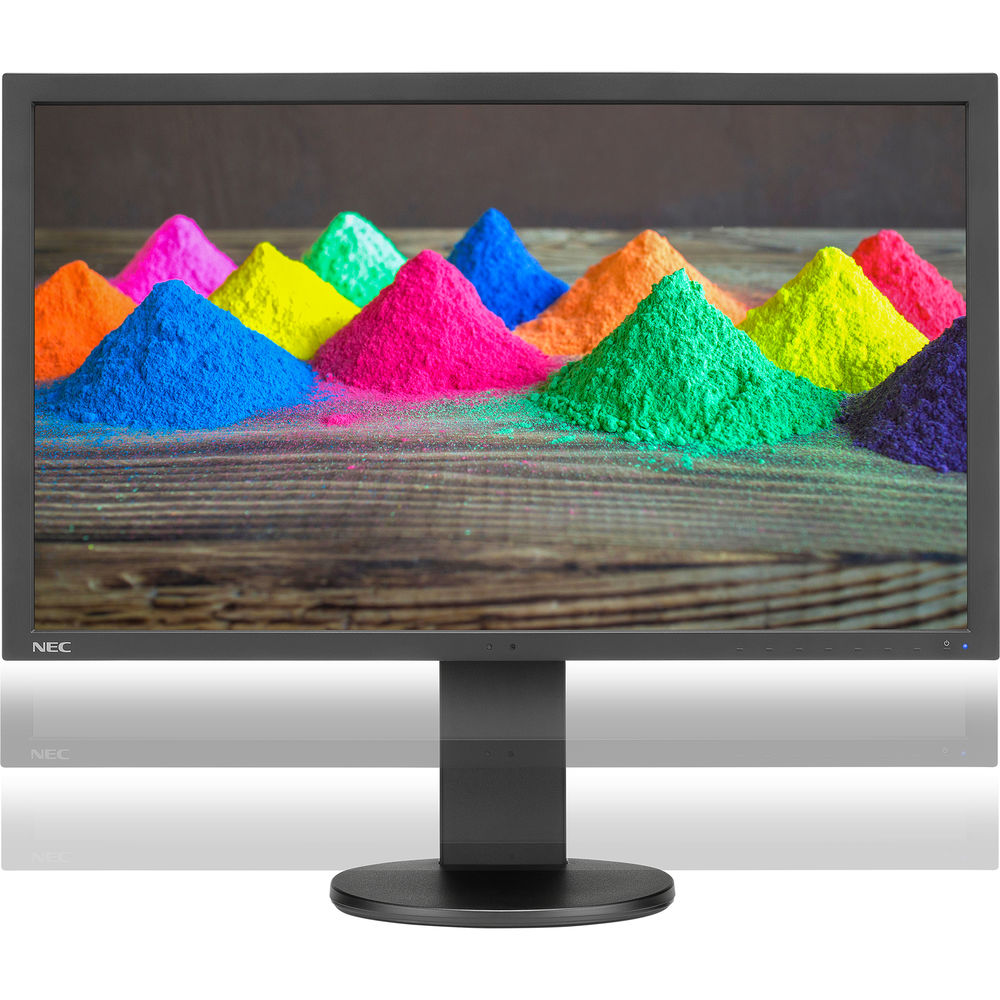
 NEC PA271Q-BK 27" 16:9 Color-Critical IPS Monitor
Since December 2014, my primary display has been my huge NEC PA322UHD which I've loved for the screen real estate. However, when I read about the latest PA series display with its improved color accuracy, I had to try it out.
While I'll admit, that I miss the huge 32" 4k display for its size, I have appreciated that this display is much more color accurate which is very important when doing color critical photo editing and soft proofing.
Photoshop looks spectacular on this 16:9 aspect ratio WQHD resolution display that is 2560 pixels wide by 1440 pixels tall (or 109 ppi):

In fact, if you have a compatible video card you can even enjoy over a billion colors by enabling 30 Bit Display

What this will do is eliminate banding in grayscale or color images when you use good video cables that can support it! However, be careful with this if you'll be printing because no printer made supports 30 bit printing, so it can cause you to miss some banding issues which could occur during printing.
For everyday use Excel 365 still goes out to a whopping AM61:

So while it might not be 4k it's still plenty of screen real estate to get a lot more done than traditional 1080p or 1920x1200 displays.
Inputs Galore
This display features lots of I/O ports both on the bottom (shown in silver on the left below) and on the side (shown in black on the right below):


In fact, this is what you get:
1 x DisplayPort
1 x Mini DisplayPort
2 x HDMI
1 x USB Type-C
3 x USB (USB 3.1) Input
3 x USB (USB 3.1) Output
To learn more about the specs of this display be sure to visit the PA271Q product page.
NaViSet Administrator 2™
Want to do an Ethernet management of your NEC displays? No problem, check out the control you have using the NaViSet Administrator software:

- Remotely adjust almost any parameter or setting found within the On Screen Display menu
- Gather valuable information pertaining to a Windows computer such as model name, OS version, memory and CPU (Windows version only)
- Any information that is gathered about connected devices is stored in a local database and can be exported for later review
- Automatically issue email alerts if a diagnostic error is reported by a device or a setting has been changed
- Schedule periodic polling for singular or multiple devices at specific times or on demand
- Sort connected devices into groups to help organize collections of display and computers
- Assign an electronic Asset Tag to a device to provide a secure method of tracking an product over a network
Click here to see a video to learn more about what you can do.
Easily Switch Between 2 Computers with 1 Mouse & Keyboard
This display acts as a KVM switch so you if you are like me and you have a Macbook Pro and a Windows PC that you want to use with this display and a single mouse and keyboard, then it's no problem. Just press the input button to go back and forth between the two as shown here:
Calibration Settings

I calibrate to the settings shown above and set my preferences to use 52 calibration and profile steps. Here's the information summary for this display after calibration:

An impressive 0.25 Delta E beats even the best Eizo's that I've tested. What this means in simple terms is that the color accuracy on this display is phenomenal.
Learn more about this display in this short 40 second video:
Conclusion
This is the most color accurate, fastest to color critical temperature, display I've used in years. For Eizo fans looking for a cheaper alternative where you sacrifice nothing, this is the display for you!
Now I want a 32" UHD version of this display, because I love this one so much that it would be hard to go back to my 4K display again!
Simply put, if you care about color accuracy and a display that is going to hold your calibration settings plus come up to temperature quickly, then this is the display for you!
Where to Buy?
CLICK HERE to learn more or buy today on B&H or click here to find it on Amazon.
Other articles you may enjoy
If you enjoyed this article, you may also enjoy these:
- NEC PA322UHD - The best 4K display I've tested
- NEC EA244UHD 4k Display – nice, but not as good as a PA series for photo editing
- Understanding 10-bit Color by NEC’s Art Marshall
- NEC PA242W Monitor Review (PA241W & PA271W Review)
- NEC PA302W Monitor Review (PA301W Review)
- NEC SoundBar Pro Display Speakers
- NEC SpectraSensor Pro (powered by X-Rite)
- Eizo CG243W IPS Display
- Choosing The Right Display Calibration Device
Enjoy these and more on the Reviews tab as well as Ron's Recommendations.
Disclosure
If you make a purchase using links found in this article, I may make a commission. It doesn’t cost you a penny more, but it does help to support future articles like this.