Wednesday, October 31, 2012

Flash Deal from Adorama–Save $420 off Canon Camera and Lens with this Coupon Code!

Adorama has some hot deals that can save you up to $420 – act fast before this deal expires!

Canon EF 8-15mm f/4.0L USM Wide Fisheye Zoom Lens at $1199 with Coupon Code

Canon EF 8-15mm f/4L USM Wide Fisheye Zoom Lens Only $1199 (save $120)
Canon EF 8-15mm f/4L USM Wide Fisheye Zoom Lens

Only $1199 (save $120) for a short period of time when you use the coupon code S9999999

Canon EOS-7D with EF-S 18-135mm f/3.5-5.6 IS Kit only $1499 with Coupon Code

Canon EOS-7D with EF-S 18-135mm f/3.5-5.6 IS Kit Only $1499 (save $300)
Canon EOS-7D with EF-S 18-135mm f/3.5-5.6 IS Kit

Only $1499 (save $300) for a short period of time when you use the coupon code S9999999

How to use the code

Empty your cart, then click on one or both of these links individually and then choose Add to Cart:

Go down to the Ship Via and Payment Information section after you click Proceed to Checkout and you’ll see this under Payment Information:

image

Click enter code and it will expand so you can enter your code S9999999 like below:

image

After you click Go you should see the updated prices. If not, then the offer has expired.

Act fast as I have no time limit on this offer, but it may expire soon.

Disclosure

If you make a purchase using links found in this article, I may make a commission.

NOTE: This site requires cookies and uses affiliate linking to sites that use cookies.

If you enjoyed this article, please support future articles like this by making a donation or saving money by using my discount coupon codes. Either way, your support is greatly appreciated!

This blog is intended for freelance writing and sharing of opinions and is not a representative of any of the companies whose links are provided on this site.

The opinions provided are of Ron Martinsen alone and do not reflect the view of any other entity

Tuesday, October 30, 2012

PhotoPlus Expo 2012 Trip Report (Part 1 of 2)


Print Masters & Photography Legends Eddie Tapp & Douglas Dubler

PhotoPlus Expo is the place to be for photographers and photo editors each year as all the big names in the industry (excluding the Kelby Media Empire) come out in force to show off their new gear. There’s also an endless number of photography legends giving presentations and interacting with the attendees, so it’s really a ton of fun to be there and rub elbows with your favorite photographers.

This this first of a two part series, I go into some of the non-product highlights and in part two I dive in to some of the products that caught my eye at the show (like the Canon 6D featured on my blog yesterday).

Industry recognition for ronmartblog.com this year

This year I got to enjoy some of the spotlight with my work being featured in four major booths:


Nik Software gave me the stage for a photo editing demo
(Cell phone photo courtesy of Art Marshall of NEC)


NEC had my work on all of their displays


Canon featured my work on the new iPF6450 that I’ll be reviewing this holiday season


Elinchrom featured my ring flash shot as well, albeit as Rob instead of Ron Martinsen – ha, ha

Models Galore

If you are patient and wanted to improve your portfolio on the cheap, then PPE is the place to go as many booths feature amazing models in good light for photographers to test out their products. Here’s just a few examples:


Panasonic had a biker babe


Unique Photo had a pretty cool dude running around


Sigma had great models and lighting to show off their lens on your camera

All of my images were taken with a Canon EOS 1D X with the new Canon 24-70mm f/2.8L II USM lens with available light and auto ISO.

Highlights of the Show (Part 1 of 2)

Everybody is out to wow the crowd at PPE, so there’s always something fun in the biggest sponsors booths. Here were a few of my favorites:

4K Display by Sony

I first wrote about 4K displays in 2010, but every time I’ve seen them since then I still get impressed. The latest was the 4K display by Sony in the form of what appeared to be their much touted 84” display:

All of the images on display impressed, but this one grabbed me the most when I was examining the details. This photo has not been sharpened beyond in-camera sharpening and when you do a 100% crop this is what you get:

Even if this were a print, that would be pretty impressive but the fact that it’s a image on a TV that is just astonishing!

Nikon Cuts a D4 and Brings a Mad Scientist


Nikon D4 split in half was cool but also painful to see


HD Video was front and center with this mad scientist hands-on filming exhibit at Nikon

Canon had amazing prints from the new iPF6400, iPF6450 and iPF8400


Canon featured amazing prints, but Michel Tcherevkoff’s was my personal favorite

Lots of a Amazing Prints


Hahnemühle had lots of great prints, but this was
one of my favorites prints of the show


Metal Mural dazzled the crowd with its metal prints,
so I’ll be working with them on a future article


Fujifilm showed off its best shots including this amazing floral shot
taken with a X-Pro1 by Azuma Makoto


Nikon didn’t disappoint either with lots of great D800 based imagery


Canon had walls of jaw dropping images as well


And no show would be complete without Epson’s Signature Worthy Collection

Now check out part II

Learn more about the cool products at PPE this year in this article:

PhotoPlus Expo 2012 New Product News (Part 2 of 2)

Disclosure

If you make a purchase using select links in this article, I may make a commission.

NOTE: This site requires cookies and uses affiliate linking to sites that use cookies.

If you enjoyed this article, please support future articles like this by making a donation or saving money by using my discount coupon codes. Either way, your support is greatly appreciated!

This blog is intended for freelance writing and sharing of opinions and is not a representative of any of the companies whose links are provided on this site.

The opinions provided are of Ron Martinsen alone and do not reflect the view of any other entity

Monday, October 29, 2012

First Look: Canon 6D Mini-review

Canon 6D first lookCanon 6D pre-production unit

While at the Photo Plus Expo in New York this past week I had the opportunity to sit down with the real Chuck Westfall and get my hands on the Canon 6D.

Canon is saying that this camera offers 2.5 stops improvement over the 5D Mark II (Adorama)  which makes it compelling upgrade for existing 5D users who can’t afford the leap to the 5D Mark III. With AF illumination and low light auto focus that is allegedly better than the 5D Mark III, one can conceivably argue that this camera is a great second body for Mark III users as well.

This camera is closer to a 5D Mark II overall than a 60D or 5D Mark II, but there’s lots of 5DM3 goodness especially on the build quality.

Image Quality

Canon claims that they did not cut corners on the 6D’s 20+ megapixel image quality to get the price down, so that’s great news for those who are holding out for an affordable upgrade. It uses the Digic 5+ image processor which has been excellent on the 5D Mark III and 1D X. They also confirmed that the ISO range remains the same as its more expensive siblings, so there is a lot to like about this camera.

Build Quality

Right away I was pleased to see that the build quality seems very good. It has the same magnesium alloy case as the Canon 5D Mark III and shares its rotating locking knob. There were a few more plastic bits than on the 5D Mark III and a much different jog wheel, but it was on par with the quality that I’d expect for this price point and felt superior to the Nikon D600. While I was a little disappointed that the layout of the controls was different from the 5D Mark III, I think 7D and 60D users will feel right at home.

Menus

One of the features introduced in the 5D Mark III and 1D X was the concept of feature groups . At first I didn’t like them, but I quickly began to appreciate them once I learned that I could use the Q button to jump between groups. I was a little surprised with the 6D’s omission of groups as it went back to the old design. Given the larger number of menus this made it a little cumbersome making the full loop between all of the menus, so I’m not sure I agree with this design. Since this unit was a pre-production unit, I’m hoping that might change on the final product.

Features

Canon 6D Rear View
Different but familiar rear view

Canon claims a 1090 jpeg shot rating for the new battery vs 850 for 5D Mark II, so that should be welcome news to wedding and event photographers who I think will flock to this camera. The extra battery is going to come in handy too because that shot count will drop once you enable the built-in GPS and Wireless radio triggering of the 600EX-RT.

I was thrilled to see that the DOF button is reprogrammable to the OneShot/AI Servo toggle like the 5D Mark III. This feature alone is a worthy upgrade to anyone who has struggled with AF challenges and the 5DM3 matching ISO performance means that this will likely be my new recommended camera for parents.

Wedding photographers are going to appreciate its excellent silent shutter mode, but will miss the CF card slot featured on the 5D Mark II & III. For the 6D Canon chose to go SD only which is great for EyeFi users, but a frustration for 5D Mark II upgrades who will now need all new memory cards. Expect to see Craigslist flooded with used CF cards when this unit ships this fall!

60D upgraders will also be disappointed to see that Canon opted against having a built-in flash. Wedding photographers will also need to be mindful of the 1/180 sec sync speed when using radio triggers (up from 1/100 sec on the 5D Mark II). They will however appreciate that the 600EX group mode feature works on the 6D (whereas it doesn’t on the 5D Mark II & 60D).

GPS supports both its own internal GPS as well as external devices.

HDR

There’s also my favorite 5D mark III feature – a proper in-camera HDR with auto align, but I as devastated to find out that there would be no support for keeping the original images as there is on the 5D Mark III. Hopefully Canon will address that in a firmware update as HDR became so much more practical with the III when you can just do the HDR shot for instant feedback on your camera and then later use the original source files in Photomatix or HDR Efex Pro 2 (see reviews and discount coupon code page). It is also limited to only the Natural effect which makes the lack of original files being included all the more frustrating. The good news though is that up to 7 bracketed shots are supported as well.

Video

I didn’t really dig in on the video. What I did confirm is that there will be No HDMI uncompressed output.

The 6D has a 29'59" individual clip limit (vs approximately 12 minutes for the 5DM2), time code support, selectable compression modes, and manual audio levels.

Pricing and Availability

The EOS 6D Digital SLR Camera will be sold in a body-only configuration at an estimated retail price of $2,099.00 and it will additionally be offered in a kit version with Canon's EF 24-105mm f/4L IS USM zoom lens at an estimated retail price of $2,899.00. Both configurations are expected to be available in December 2012.

Other articles you may enjoy

Disclosure

If you make a purchase using links found in this article, I may get a small commission.

Please support this blog by posting a link to this article on all your favorite forums and social networks.

NOTE: This site requires cookies and uses affiliate linking to sites that use cookies.

If you enjoyed this article, please support future articles like this by making a donation or saving money by using my discount coupon codes. Either way, your support is greatly appreciated!

This blog is intended for freelance writing and sharing of opinions and is not a representative of any of the companies whose links are provided on this site.

The opinions provided are of Ron Martinsen alone and do not reflect the view of any other entity

Tuesday, October 23, 2012

The Business of Track Photography


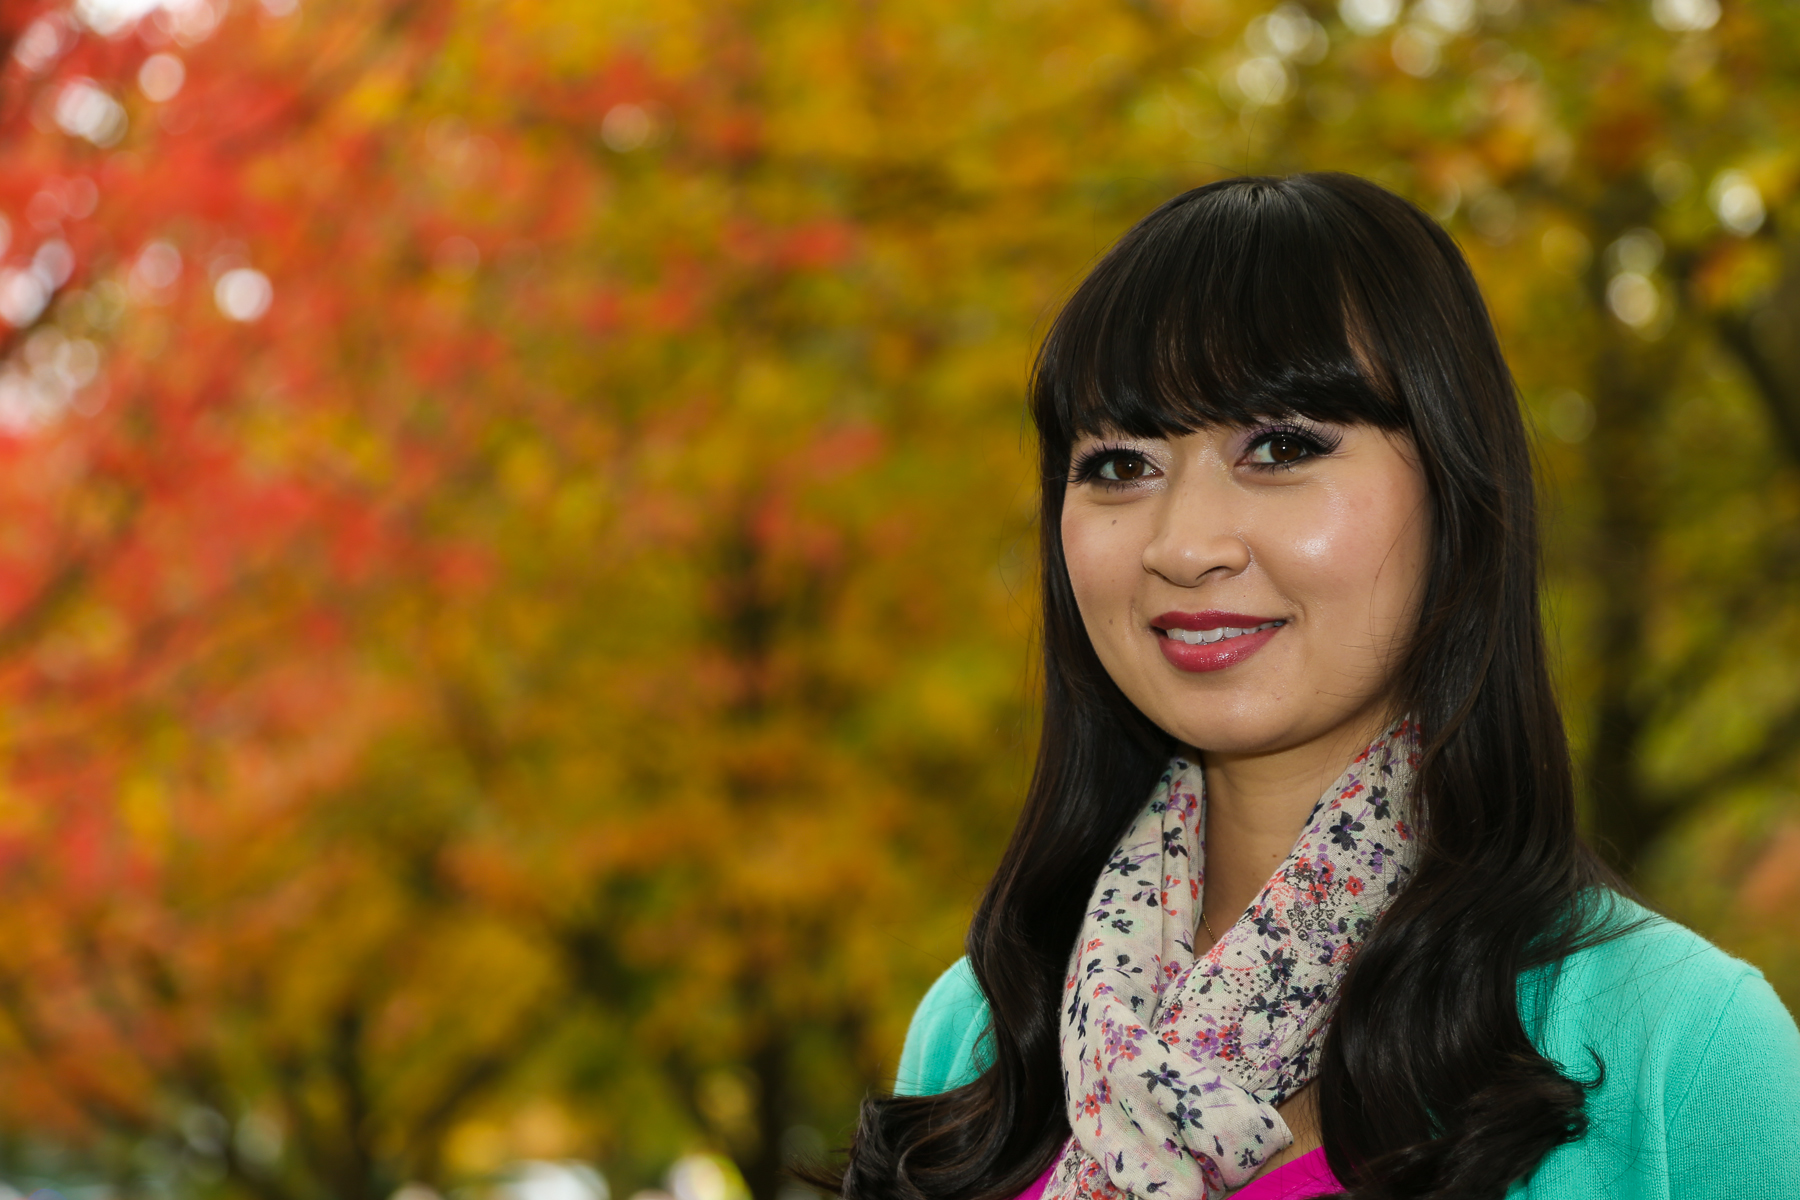
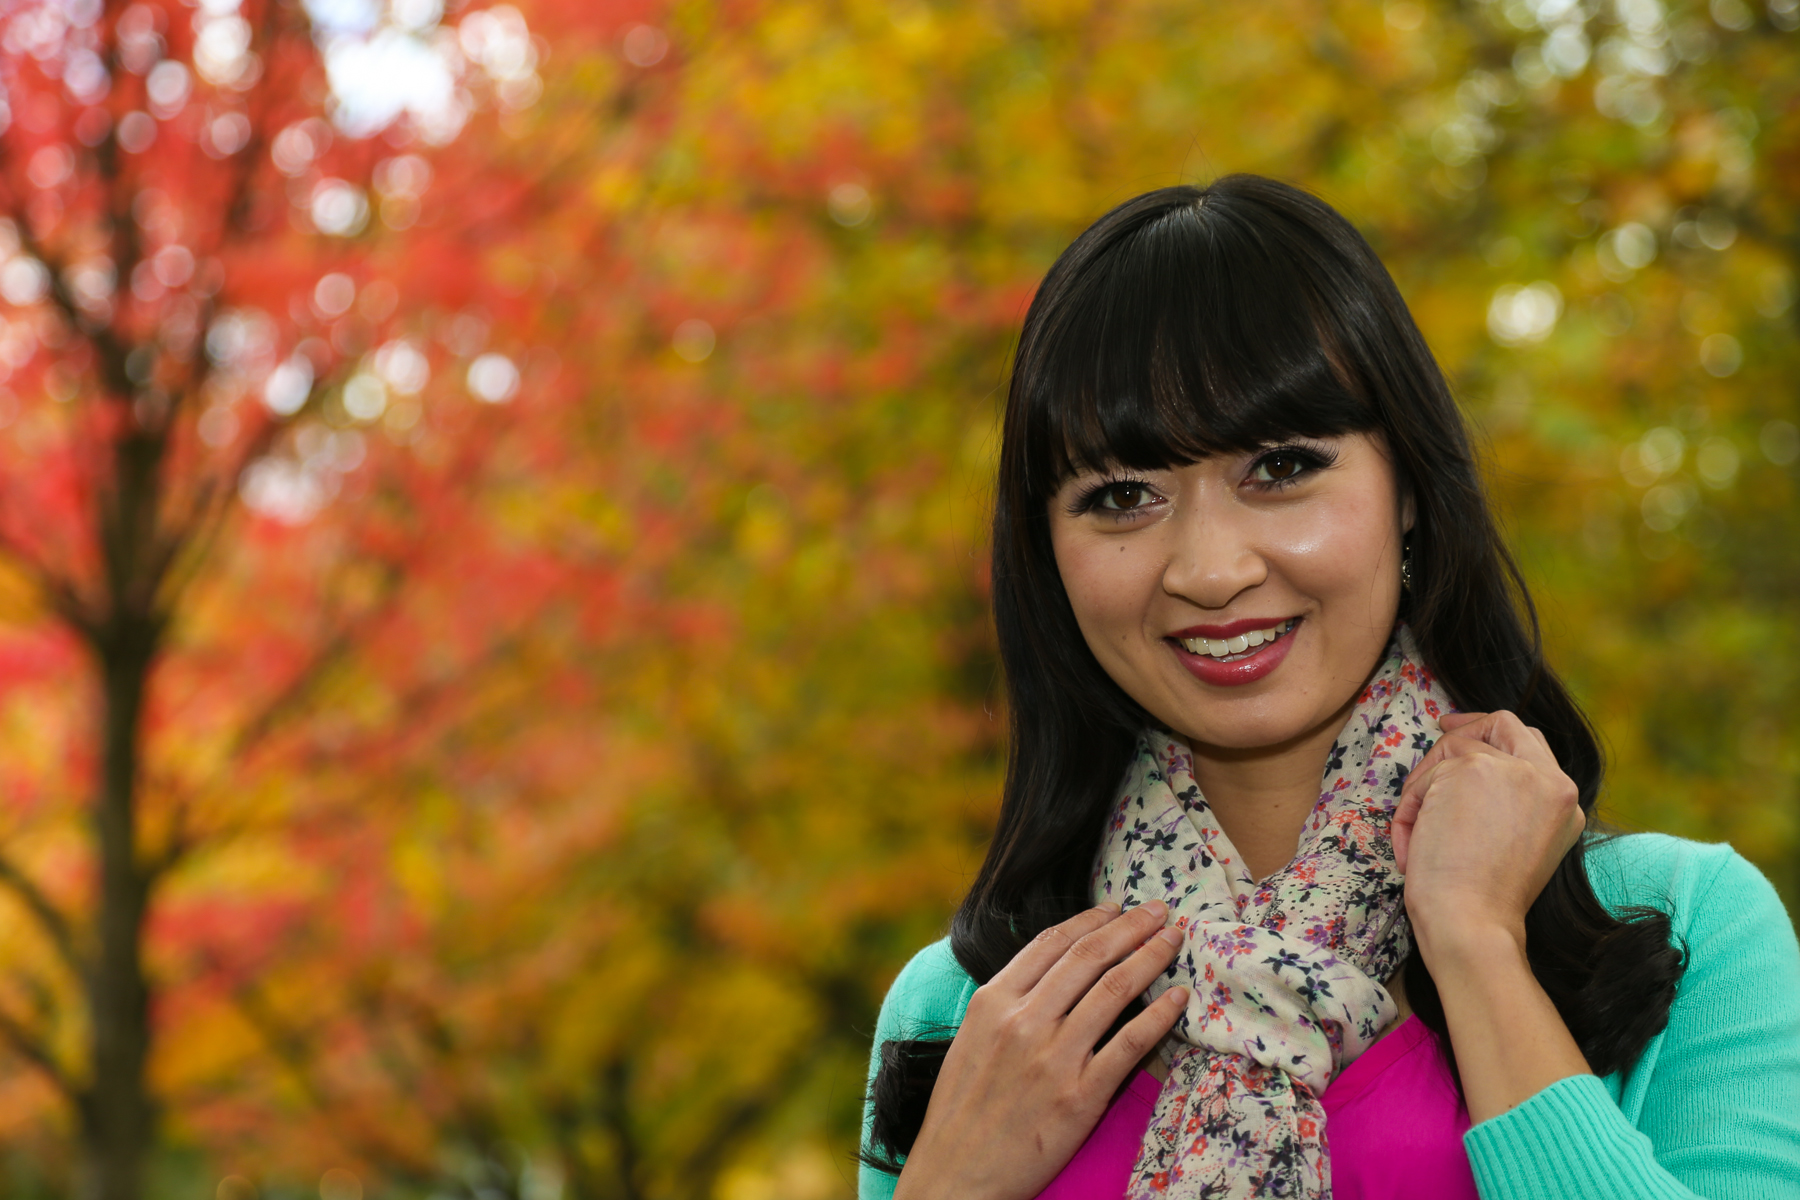
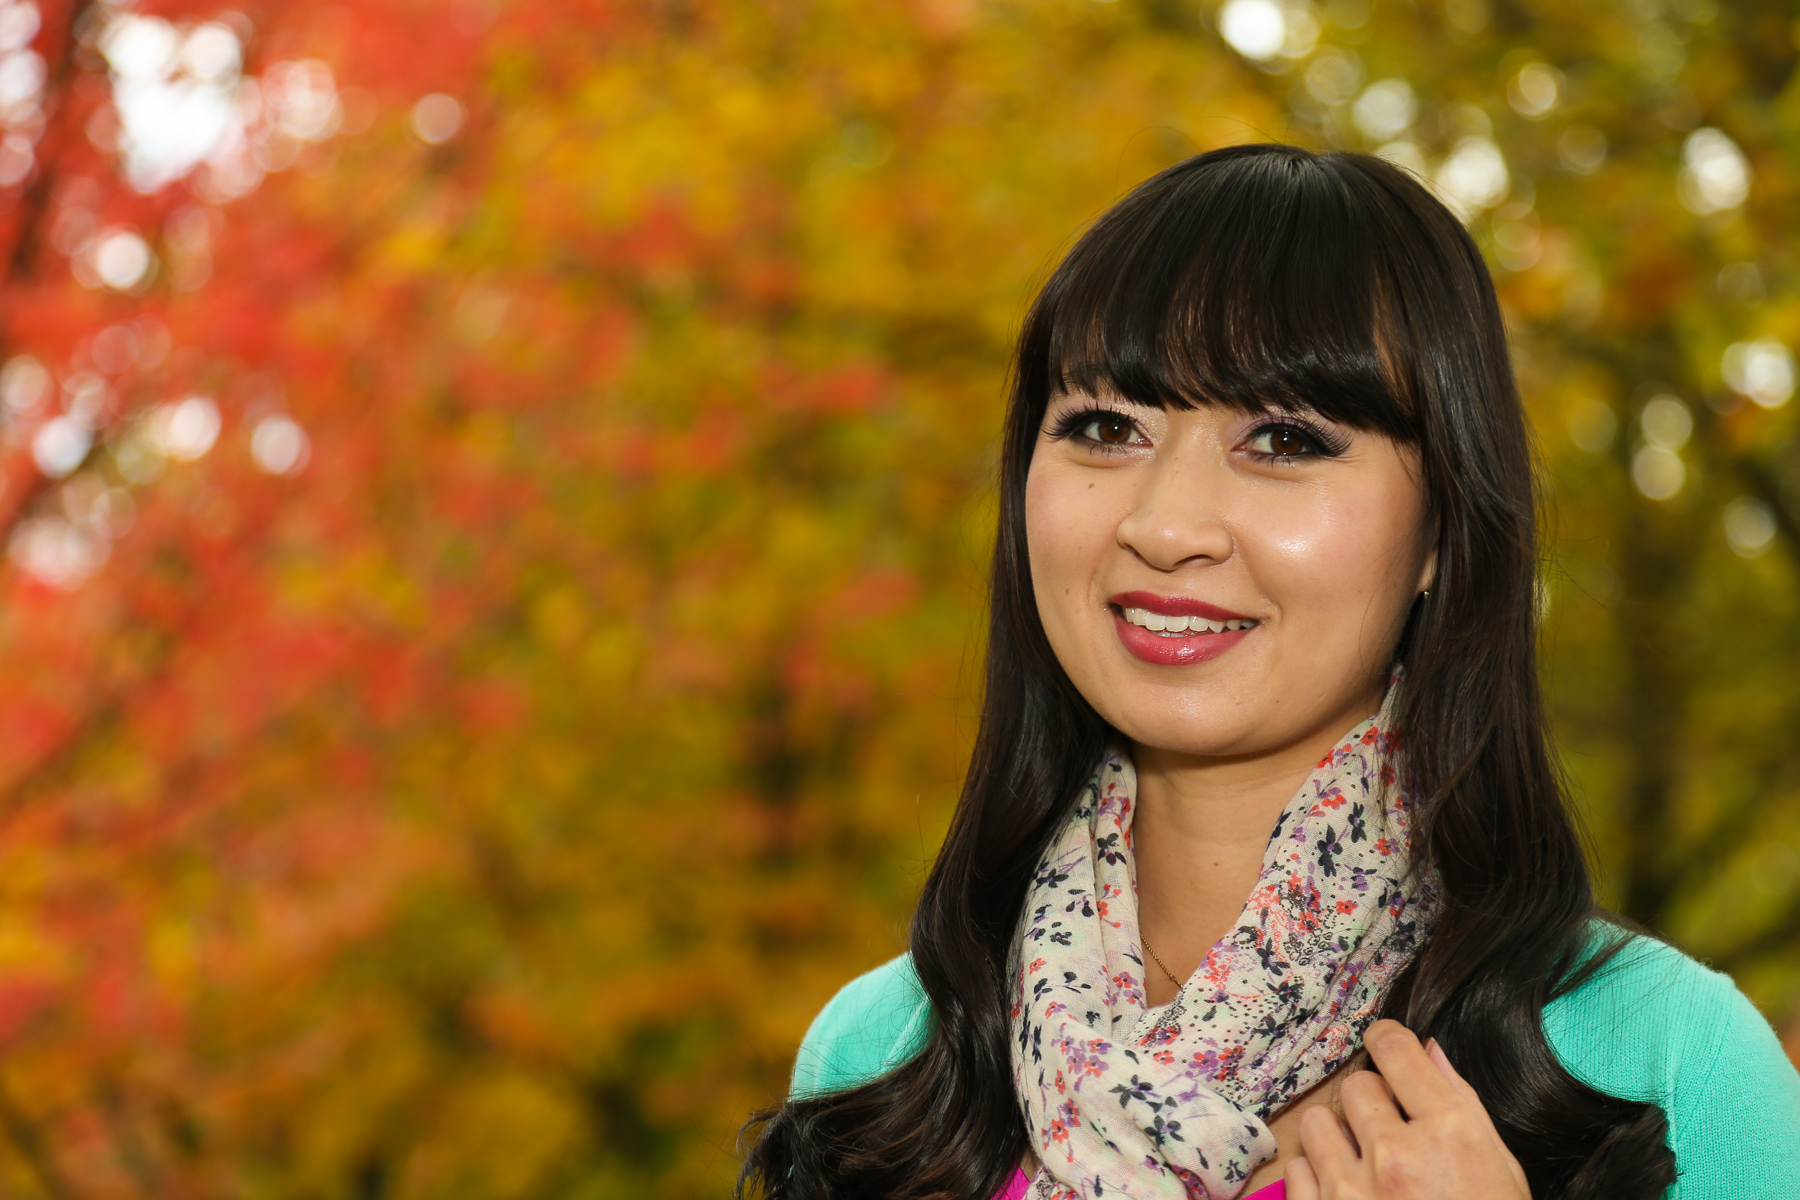
All images in this article are copyright Jason Tanaka – ALL RIGHTS RESERVED

The grass is always greener on the other side.  How many times have you heard that?  When I first started shooting at the track, it was just simply awesome!  Playing with my shutter speed to see how slow I can get before subjects were too blurred.  Moving to different locations on the track to get that sweet angle.  It was just so cool, I wanted to do this for a living!  Who doesn’t like making money doing what they love?  Right?  Well let me take this opportunity to tell ya.  Running a track photography business isn’t exactly what I thought it was going to be like. 

Disclaimer:  My knowledge on this subject is strictly from shooting two wheeled riders here in this little corner of the US sometimes referred to as the Pacific northwest.  I haven’t worked in any other regions of the world or other motorsports markets, although I’d love the opportunity!  I’m sure other folks have their processes and methodologies, but the following is an overview of what I do. 

Day 1:   Prep

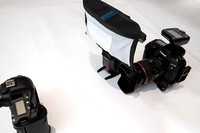
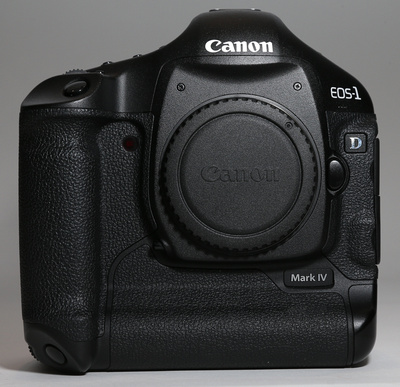
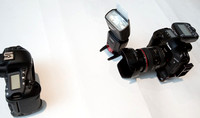
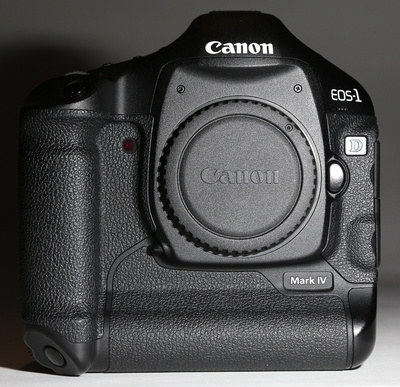
Shooting at the track normally begins the night before the track day.  I need to make sure I have all the necessary gear ready;  batteries charged, and flash cards empty.  Having to leave so early the next day, I normally pack everything into my car the night before (except for the expensive hardware).  Gear includes, but not limited to, rain gear, camera gear (bodies and lenses), knee pads, sunscreen, 3-legged chair, fluids (Gatorade), snacks and fruits (enough food to last the whole day).  All this gear must fit into gear bags that are very likely to be carried for the whole day, corner to corner.  Check the forecast to plan what I'll be wearing.  Since I try to blend into the scenery as much as possible, clothing is limited to dark and/or neutral colors.

Day 2: Track day

Depending on the location, up by 5:30am to leave early enough to fight traffic and make it to the track for the 8am riders' meeting.  After the meeting, I need to decide how my day will flow.  I need to make a general progression from corner to corner as I don't have time to go to any corner at any time.  Normally the previous corner or next corner are my choices to move to in between sessions, so I must plan accordingly.  I head out to my first corner around 8:45am and break out the gear.  Once there, I find my usual shooting angles and wait for the track to go hot.  9am and the track normally fills with the day's first riders.  Most riders are timid in the first session and don't make for good photos, but it is a good time to get me warmed up to the day's shooting.  Depending on the number of riders, I'll fire off 5-8 shots of each passing rider.  Multiply that by the number of riders as they lap every few minutes.  Within a single 20 minute session, I can easily fire off several hundreds of images that will later need to be filtered, processed, sorted, and uploaded.  Every 20 minutes a fresh group of riders hit the track.  Every third session the groups cycle through, starting with the beginner level, moving to the intermediate level, and lastly the advance level.  In between the cycles, I try to move to a different corner or angle.  Getting a variety of corners and angles will only help sales.  Getting the same shot over and over again limits the customer's selection.  The difficult part here is during the sessions, you are very limited on your movement, so for each session, I'm essentially stuck at that angle for 20 minutes.  This means for that 20 minutes, I'm going to get riders in the same angle over and over again.  There are a few minutes in between sessions to take a quick break, but no lunch breaks here.  Customers pay to be on the track, so I need to keep shooting.  This continues throughout the day till about 4pm or 5pm. At the end of it all, I'm exhausted!  I normally have about 64 gigs worth of RAW files, at about 5,000 to 8,000 images to process.  Time to head home and a nice hot shower.

Day 3, 4, 5, 6, 7...: Processing

Some folks may have this idea that photographers have a glorious life going from assignment to assignment, shooting in exotic locations.  It can't be further from the truth, with the exception of a few high profile photographers.  Along with the business aspects of running a photography business, processing photos takes a lot of time. 

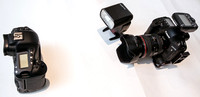
Before I dive into the details about post processing, I just want to make a quick note on some of the camera settings used throughout the day.  This information is more for my fellow photographers out there reading this.

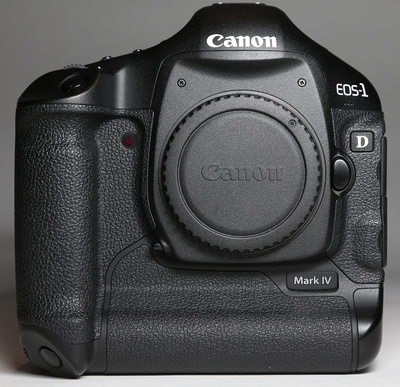
RAW files:  I shoot almost everything in RAW, including at the track. I normally carry more than enough CF cards to handle the payload.  The machine I use to process the images is hefty enough to handle the required disk space and CPU crunching of the RAW files. 

Shooting mode:  Tv.  Some ask why I don't shoot in manual mode and it's for a couple of reasons; exposure and white balance.  Here in the Pacific northwest, most days do not have consistent lighting.  Most days are partly sunny (if not raining) where patches of sunlight hit the track.  Trying to keep exposure and white balance in sync with conditions like this would be almost impossible.

The process:

  1. Download all my memory cards to my computer (30 minutes)
  2. Import them into my image processing software (Lightroom) and pre-process (render previews) the images (60-90 minutes).
  3. Eyeball each and every image, weeding out blurry, out of focused, poorly composed images (5-8 hours).
  4. Adjust exposure, contrast, white balance, etc. on each and every image (5-8 hours).  For me personally, it’s important to always deliver the best quality images to my customers.  If this means post processing each and every one, so be it.  I don’t run a ‘shoot and burn’ type of business.
  5. Sort images (2-3 hours).  Riders normally have numbers and sometimes would like to buy galleries of their images.  Upon rider request, I create their galleries and post them online for purchase.
  6. Upload the images (6-8 hours). Slowly but surely, the images get uploaded.

In between all this, there is still the business to run, emails to answer, go to a full time day job, and live a life.

Summary:  Why?

So lets see. Prepare the day before, one full day of shooting and several days of processing.  How many hours is this? It's at least a full week, so lets say 40 hours.  How much would you say is a good hourly rate for this type of skilled work? Lets say $50/hour.  At 40 hours, we'd hope to collect $2000.  Minus federal taxes we pay (28%) and sales tax (9.5%).  This brings us down to about $1300 for a week of work.  Minus fuel expenses, health insurance, wear and tear on hardware, etc....  Is it what really happens?  Not so much.  Average Joe doesn't see the work and skill required to make my photos.  $10/photo or $45/gallery is way too much and they aren't going to spend their hard earned money on photos that he thinks his uncle Bob can take.  On a really full day, 30 riders per group with 3 groups; 90 riders total.  On average, 1 out of 10 will buy a gallery at $45 ($405) and 1 out of 15 buy a single photo at $10 ($60).  This comes to a grand total of....  $465 for the whole day.  Minus sales and fed taxes, we're down to about $303 for the 40 hours of work.  Yes. that's $7.57/hour.  Don't forget the cost of travel, wear and tear on gear, insurance, web hosting, etc...  So, how many folks out there work for less than $7.57/hour?

So why do it?  Why take time off from work, put the stress on your gear, and sit in front of a computer for so many hours?  Because I love photography.

Disclaimer

This guest blog was provided as is from the author. It does not reflect the views of ronmartblog.com and no activity from this article financially benefits this article.

NOTE: This site requires cookies and uses affiliate linking to sites that use cookies.

If you enjoyed this article, please support future articles like this by making a donation or saving money by using my discount coupon codes. Either way, your support is greatly appreciated!

This blog is intended for freelance writing and sharing of opinions and is not a representative of any of the companies whose links are provided on this site.

The opinions provided are of Ron Martinsen alone and do not reflect the view of any other entity

Monday, October 22, 2012

Guest Blog: EXPLORE | Photographers@Microsoft Photo Book by Matthew Woodget

Book Cover

Can a photo make a difference to the world? How about a book full of virtually every type of photo you could imagine?

Last week for the Giving Campaign we launched the 2012 photo book from the photographers@Microsoft. The book is made by the community of photographers of Microsoft and is used to raised money for The United Way Worldwide. A $50 book sends all proceeds ($37.50) to the United Way. For Microsoft employees in the US this is matched to make that $75. Last year we raised over $90,000 and this year we are shooting for $100,000.

After three years “in the book” I decided to help make and market the book this year. It’s simply a stunning collection of photos that illustrates the diversity and creativity of the photography community here at Microsoft. A community I’m very proud to be a member of.

For me the inclusion of ‘J’s photo (in the X on the cover) was a coup for the triumph of art and human connection (with a little bit of technology thrown in). You can read the story about this photo here. Next step; sending her two books and when she presents one to her school (it’s the school gate) to have her family take a photo of that moment.

Explore photographersATmicrosoft Launch Party 2012 (12 of 28)

We were lucky enough to have brilliant photographer and all round nice guy Chase Jarvis help us launch the book. His talk was inspiring and exciting. He shared with us his passion for photography, community and exploration. His “hit list” was a hit with the crowd. For me it resonated on a variety of levels; working hard at what you love, making your own rules, the creative process of iteration, learning, creating space for things to happen and helping others. You can read the inspired list here in full.

666514321

How to buy

You can buy the book via the Online Microsoft store (linked to from the Photographers at Microsoft site here) select “Buy” from the Photographers at Microsoft site then (for non Microsoft employees) at the Microsoft store site click “All other shoppers may sign up here”.

Disclaimer

This guest blog was provided as is from the author. It does not reflect the views of ronmartblog.com and your purchase does not provide any commission or benefit to this blog.

NOTE: This site requires cookies and uses affiliate linking to sites that use cookies.

If you enjoyed this article, please support future articles like this by making a donation or saving money by using my discount coupon codes. Either way, your support is greatly appreciated!

This blog is intended for freelance writing and sharing of opinions and is not a representative of any of the companies whose links are provided on this site.

The opinions provided are of Ron Martinsen alone and do not reflect the view of any other entity

Sunday, October 21, 2012

Want to assist in a NYC Fashion Shoot?

I’m going to be doing a high end shoot in Times Square in New York City on Wednesday October 24, 2012 and possibly a rooftop shot on Saturday.  I’m looking for some assistants as I need some extra hands to hold equipment, etc… 

If you’d like to be on the set for this shoot and see how things work from behind the scenes with makeup artists, models, etc… then please contact me to possibly be invited to join in.

NOTE: This site requires cookies and uses affiliate linking to sites that use cookies.

If you enjoyed this article, please support future articles like this by making a donation or saving money by using my discount coupon codes. Either way, your support is greatly appreciated!

This blog is intended for freelance writing and sharing of opinions and is not a representative of any of the companies whose links are provided on this site.

The opinions provided are of Ron Martinsen alone and do not reflect the view of any other entity

Friday, October 19, 2012

B&H Crazy Sale on Canon and Nikon Gear Including D600!!!

B&H has some amazing deals on the Nikon D600, 5D Mark II, and Rebel T3i and more. Check it out…

Canon EF 24-70mm f/2.8L II Lens Now in stock

http://www.bhphotovideo.com/c/product/843008-USA/Canon_5175B002_EF_24_70mm_f_2_8L_II.html

Canon 24-70 f/2.8L II

Receive free goodies with the Nikon D600   Save $134.71

  • Battery Nikon EN-EL15 7.0V 2200MAH
  • SanDisk 32 GB SDHC Extreme Pro Class 10 UHS-I
  • Lowepro Rezo 170 AW Camera Shoulder Bag

·
http://www.bhphotovideo.com/c/product/892427-REG/Nikon_D600_Digital_Camera_Body.html

Nikon D600 Sale

Canon EOS Rebel T3i Digital Camera with 18-55mm IS II & 55-250mm IS II Lenses and PIXMA Pro9000 Printer Kit

$599!   After Mail in Rebate

http://www.bhphotovideo.com/c/product/896664-REG/Canon__REBEL_T3I_w_EF_S_18_55_55_250_PRO_9000.html

Canon T3i Sale

Canon 5D Mark II w/24-105mm f/4L IS Lens & Pro9000 printer.

Limited Stock $2,199 after Mail in Rebate

http://www.bhphotovideo.com/c/product/896084-REG/Canon_EOS_5D_Mark_II.html

Canon 5D Mark II Bundle Sale

Disclosure

If you make a purchase using links in this article, I may make a commission.

NOTE: This site requires cookies and uses affiliate linking to sites that use cookies.

If you enjoyed this article, please support future articles like this by making a donation or saving money by using my discount coupon codes. Either way, your support is greatly appreciated!

This blog is intended for freelance writing and sharing of opinions and is not a representative of any of the companies whose links are provided on this site.

The opinions provided are of Ron Martinsen alone and do not reflect the view of any other entity

REVIEW: Rogue Small Soft Box Kit & Diffusion Panels


The ExpoImaging Rogue Small Soft Box Kit is what I used for this review

The ExpoImaging Rogue Small Soft Box Kit is a game changing product in the overcrowded field of small flash light modifiers. It’s so simple and subtle that you don’t expect it to make a huge difference, but I honestly think it does – and I love it! In fact, I’ve used mine so much since I got it that I’m months late doing this review because I couldn’t force myself to shoot a flash without it to give you some comparison images. I just love the results I get from it like this unprocessed shot (okay, so her cheek needs a slight touch up but that’s my bad – not the product):


Canon EOS-1D X, f/4.5 @ 88 mm,1/160, ISO 100
Canon 600EX-RT straight upwards with Rogue Small Soft Box Kit

This is a solid result with a flash on the camera but when you take it off it gets even better as you have a small portable softbox which we know improves as you put your softbox closer to the subject!

Comparing different flash techniques

All of the following shots are in-camera JPEG’s with a .25 exposure boost, a +7 temp & clarity boost and a +48 vibrance boost in Lightroom 4.2. All were taken with a Canon EOS-1D X, f/4.5 @ 98 mm, 1/160, ISO 100, Auto White Balance (AWB) and Standard picture style. I intentionally didn’t do my typical editing so you can get an idea of your starting point with each of the following three flash techniques. Naturally I’d fix the hotspot on the cheek and skin soften a tad to remove some skin glow and a few other things if I were to edit this shot, but I’ve left them mostly as they came out of the camera so you can see what you’d get using each method.


Canon 600EX-RT pointed directly at model with no diffusion

This first image is where you put the flash on the head and point it directly at the model for a nuclear blast of light. Surprisingly it isn’t too bad (beyond the obvious hot spot we get from Juliet’s rounded cheeks <g>) but there’s not much catch light sparkle in her eye and the shadows in the neck are harsh.


Canon 600EX-RT angled upwards with white card bounce

For this second shot we do the classic tilt up and get some indirect bounce with the white card up. As a starting point for a raw image it’s certainly usable, but the light fall off on the face is bad and the catch lights are lacking. The outfit feels a little dark to – especially the scarf. Overall this is my least favorite.


Canon 600EX-RT straight upwards with Rogue Small Soft Box Kit

Now for this shot with the Rogue Small Soft Box Kit we get nice even light throughout the body, soft shadows on the neck, good catch lights and well lit hair. This is the magic of this product even in very difficult conditions outdoors where there’s no walls for the light to bounce off. This product makes the most of your on-camera flash power!

I’m sure someone out there will disagree with me, but personally I like the Soft Box Kit version the best which mimics my real-life experience. I LOVE this product and use it whenever my Canon 600EX-RT flash goes on my camera now.

Off-Camera Flash Experiment

Now the cool thing about softboxes is that as you get them closer to the subject the wider and softer the light gets, so here’s a simple test that shows the result of setting the flash on a stand next to the camera to light the 1D Mark IV with the softbox and with the flash techniques previously discussed:


Rogue Softbox


Bounce Flash


Direct Flash

Notice how the softbox shot at the top gives nice even light whereas the bounce drops off and the direct just sucks? Ever noticed the two problems with your on-camera flash? The Rogue Softbox helps to distribute the light more evenly and effectively which makes life so much better indoors with one of these things on your flash!

Conclusion

The world is overcrowded with flash modifiers. While I love my Rogue FlashBenders, I couldn’t get myself to review them as honestly there’s many ways to get similar results using home made products. I think the FlashBenders are the best of their class of product on the market and I use mine quite a bit, but I just didn’t feel like they were as important to review as this soft box kit that I used in this article. By mounting the diffusion panel to your existing FlashBender or buying the kit you can really improve the quality of your small flash light – that’s something I honestly believe in which is why I feel compelled to review this product for you.

I think beginners will get the most of this product right off the bat, but experience shooters can find it useful as well – especially if you get the flash off the camera and are packing light. It’s really the ultimate photojournalist light modifier! I also love that I can store this flat in my bag as that cause me to bring it everywhere and consequently use it more often.

This is a game changing small flash light modifier and I highly recommend it!

Special Offer


ExpoImaging Rogue Starter Lighting Kit
is great for beginners
(Flashes not included)

You can purchase ExpoImaging Rogue Small Soft Box Kit or the individual diffusion panels for your existing Rogue FlashBender from B&H, but you can also purchase direct from ExpoImaging

ExpoImaging Store - Redeem Discount Coupon
NOTE: You MUST provide your credit card info before the Redeem button will work!

My blog already has a discount coupon code in place for existing ExpoImaging Rogue products shown at the end of this article, but I’m pleased to announce now that you can also save 15% when you use the coupon code ronmart09 to order your Rogue Grid.

Codes change so check the discount coupon code page for the latest code if this code doesn’t work.

Other articles you may enjoy


Serious Photographers will want the
ExpoImaging Rogue Master Lighting Kit
(Flashes not included)

If you liked this article, then you might like these as well:

Disclaimer

Expoimaging has provided me with this product to review, but I loved it so much that I ended up using it for months before getting around and reviewing it! If you make a purchase using links found in this article, I may make a commission.

NOTE: This site requires cookies and uses affiliate linking to sites that use cookies.

If you enjoyed this article, please support future articles like this by making a donation or saving money by using my discount coupon codes. Either way, your support is greatly appreciated!

This blog is intended for freelance writing and sharing of opinions and is not a representative of any of the companies whose links are provided on this site.

The opinions provided are of Ron Martinsen alone and do not reflect the view of any other entity